top of page


Microgreens Growing Tips (Simple Advice That Makes a Difference)
Growing microgreens is simple, but small things can make a big difference.
These tips will help you avoid common mistakes and get better, stronger growth.
Whether you’re just starting or already growing, a few small changes can improve your results quickly.
Helpful Tips for Better Microgreens

Mould

Deseases

Temperature

Microgreens Family

Broccoli Nutrients

Humidity
Weighting

Storage seeds

Sprouting Soy

Grow Medium

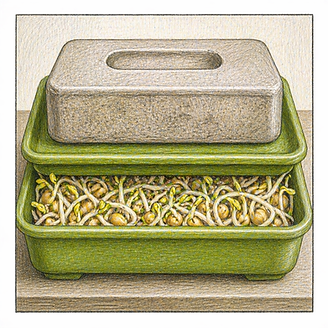
Microgreenvs sprouts

Cleaning
bottom of page